Growing mustard greens, mustard greens, mustard greens, mustard greens, green lettuce, specialty lettuce, purple lettuce, Japanese mustard, home-grown vegetables, tips on growing mustard, growing mustard in plastic bottles, vegetable gardening improve.
I love fresh herbs and vegetables for the pasta and homemade pizzas I make for my family, but really for every meal I cook.
When I buy it either freshly cut or actually growing in a pot, it withers and dies quickly and pre-cutting is very expensive, also Organic is my choice but it can also be expensive.
Recently, however, I found this video on YouTube that demonstrated how quickly you can grow vegetable and lettuce plants to an almost infinite number of plants in recycled plastic bottles to have a never-ending food supply.
He grows all kinds of plants on a rooftop garden for very little to no cash outlay. In fact, if you did it for one year using this method you could have so much food from your plants, that you might never have to buy any fresh food at the grocery store. The cutting and growing methods were not hard to follow at all.
Materials: Gallon Size Plastic Bottles
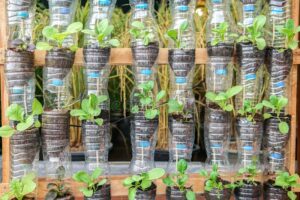
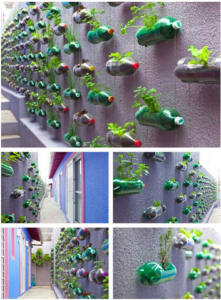
This one is a lot of work but makes an amazing feature in the garden. It looks so complex but is simply made by stringing the bottles together at the top and bottom, hanging on a sturdy beam or wall, and cutting a section out of the bottle to plant your herbs, flowers, or any other small plants. Gorgeous!
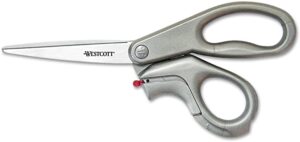
Box Cutter or Scissors
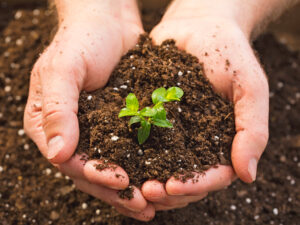
Plants naturally produce a hormone called auxin that helps roots to grow. Synthetic forms of auxin are sold as “rooting hormone” at garden centers. Usually, a dry power, rooting hormone is worth the small investment because it will increase the success of your cuttings.
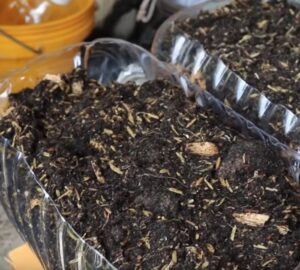
Soil
If you see the soil or seed starting to mix and turning green in your garden or greenhouse, you are not alone. Many gardeners have this same problem, either on their garden soil or indoors when starting seeds.
So, why is your garden soil turning green? A green layer on top of soil is often caused by algae, which thrives in warm, wet, bright environments with moist, humid air.
Soil that gets lots of sun and stays wet due to over-watering is more likely to get algae. Algae are also notorious for taking up residence inside of greenhouses, where high humidity encourages rapid growth.
Of course, there are ways to get rid of algae and prevent it in the future without killing your plants in the process. In this article, we’ll take a closer look at algae and where it thrives. We’ll also mention how to can control it going forward.
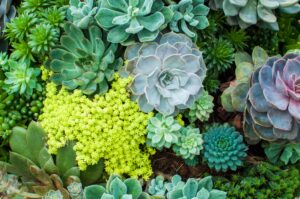
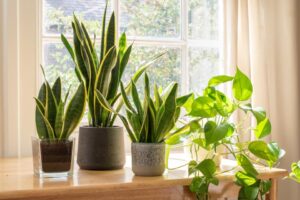
Plants
Green bean crops have two growing styles: bush and pole. Bush beans grow out in a compact space, while pole beans grow on climbing vines. Both pole and bush beans need very similar conditions to grow.
1. Sow seeds directly: Sow green bean seeds directly into your soil, rather than starting the growing process indoors. Bean plants have fragile roots, which makes them difficult to transplant.
2. Check the temperature: Ensure that soil temperature is at least 50 to 60 degrees Fahrenheit before sowing green bean seeds to prevent slow germination or rot.
Green beans are a warm-weather crop, which produces the highest yields in air temperatures between 65 and 80 degrees Fahrenheit.
3. Support the pole beans: Prior to planting pole beans, you will need to set up either a trellis or a teepee to support the beans as they grow. For the teepee method, gather at least three long branches or wooden poles together that are approximately six to seven feet in height, tying them together at the top.
And splaying the bottoms of the supports in a circle. As vines emerge, begin winding them up the poles. This method will train the plant to continue winding throughout the growing season.
4. Provide enough space: To plant bush bean seeds, sow them about one to one and a half inches deep and three inches apart, with your bean rows 18 inches apart.
If you are planting pole beans, plant three or four seeds around each of the poles, four to eight inches apart, in rows that are two to three feet apart.
Water
1. Chop about three inches from the bulb end of your green onion stalk, leaving the white roots that sprout from the bottom attached.
2. Put the green onion base, and roots down, in a glass or small jar filled with about one inch of water. The roots should be submerged.
3. Place in a well-lit spot, like a windowsill, where it’ll get a lot of sunlight.
4. Keep the roots moist, and change the water frequently. Wong recommends every other day for maximum freshness.
5. Watch them grow! In under a week, you can get 2 to 3 inches of new growth—the perfect amount for a finishing topper to a dish. Of course, the longer you wait, the more regrowth you’ll get.
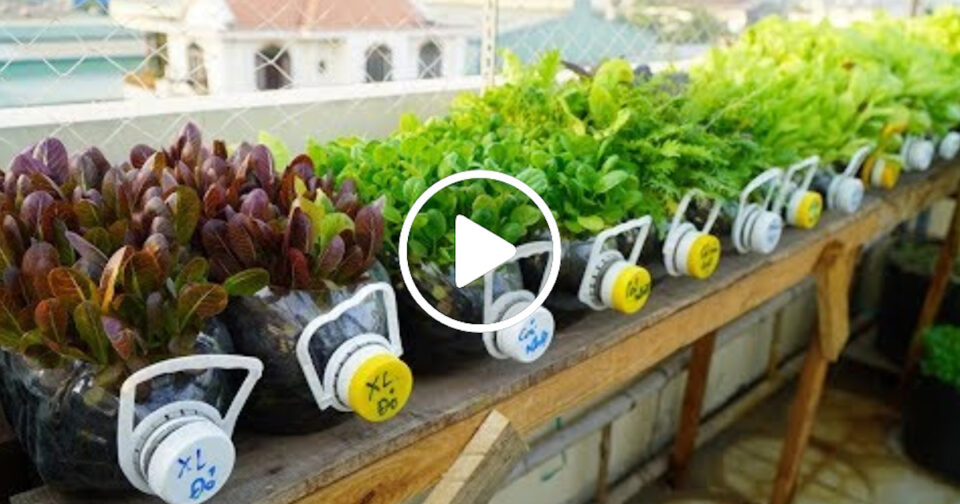
Directions: Take A Few Empty Gallon-Size Bottles And Cut A Hole In One Of The Sides In An Oval Shape.
![]()
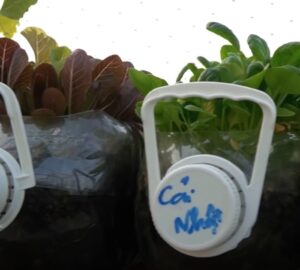
Then Add Soil And The Seeds Of Your Choosing And Water, Put In A Warm Sunny Area, And Water Them Every Day
Then Enjoy Watching Your Beautiful Plant Grow And Then Harvest Them For Food For Your Family. You Can Write What Types Of Plants Are In The Container On The Cap If You Want To As Well.
PLEASE WATCH THE VIDEO BElOW: